How to Electrical Wiring a House: Safe Step-by-Step Guide
Planning Your Home’s Electrical System
Proper planning is the foundation for safe and code-compliant electrical wiring a house. Start by mapping out each room’s intended electrical usage and identifying the locations of outlets, switches, lighting fixtures, and any dedicated circuits required for large appliances. Consult your local building codes for electrical code compliance requirements, including the number and spacing of outlets and the use of GFCI and AFCI protection, particularly in wet and high-risk areas.
- Permits and Documentation: Always secure the necessary permits from your local authority before beginning any electrical project. Detailed plans will also streamline your inspection and make troubleshooting easier down the line.
- Load Calculation: Estimate your expected electrical load for each room. This will determine the ampacity required for circuits and the wire gauge you’ll need to use.
- Dedicated Circuits: Large appliances such as stoves, dryers, and HVAC units require dedicated circuits with properly rated breakers directly from the main panel.
- Updating Existing Wiring: If you are renovating, review the condition of existing wiring and plan for any necessary upgrades to meet modern code and safety standards.
To learn more about improving your home’s electrical safety and saving on energy costs, consider exploring these money-saving electrical tips.
Essential Tools and Materials for House Wiring
Assembling the right tools and materials is a crucial step in house wiring step by step projects. Investing in quality equipment ensures accuracy and safety during every phase of work.
Key Tools
- Voltage tester and multimeter: For safely verifying power and troubleshooting circuits
- Wire strippers and cutters: Essential for preparing and handling wires
- Fish tape and cable pullers: For pulling wires through walls, ceilings, and conduits
- Drill with bits: Needed for hole-making through studs or joists
- Insulated screwdrivers and pliers: For safe and controlled installation of electrical components
- Labeling materials: For organizing circuits as you work
Key Materials
- Electrical wire: Appropriately sized wire gauge and insulation type depending on load and location
- Circuit breakers: Schedule for your main panel
- Junction boxes, outlets, and switches: Choose GFCI or AFCI models as required by code
- Wire nuts and cable staples: For safe and secure connections
- Grounding rods and copper wire: For effective grounding
- Electrical tape and UL-listed box covers
If you’re focusing on a specific project such as replacing a light switch, follow this detailed guide for safe switch installation.
Step-by-Step House Wiring Process
The wiring process can be broken down into systematic phases. Following a home electrical wiring guide will help ensure you meet all code and safety requirements at every stage.
1. Marking and Layout
- Mark all outlet, switch, and lighting box locations based on your plan.
- Map cable routing between the main panel, outlets, switches, and fixtures, minimizing bends and avoiding parallel runs with plumbing or heat sources.
2. Rough-In Wiring
- Install boxes for outlets, switches, and lights at proper heights and depths for your chosen finish.
- Drill holes in studs and joists while keeping to the center for structural integrity (at least 1 1/4″ from the edge).
- Run cables according to your layout, leaving at least 6-8 inches of extra wire in each box for easy connection.
- Secure cables with staples, being careful not to damage the insulation.
- Label each run at both ends to simplify connections and troubleshooting.
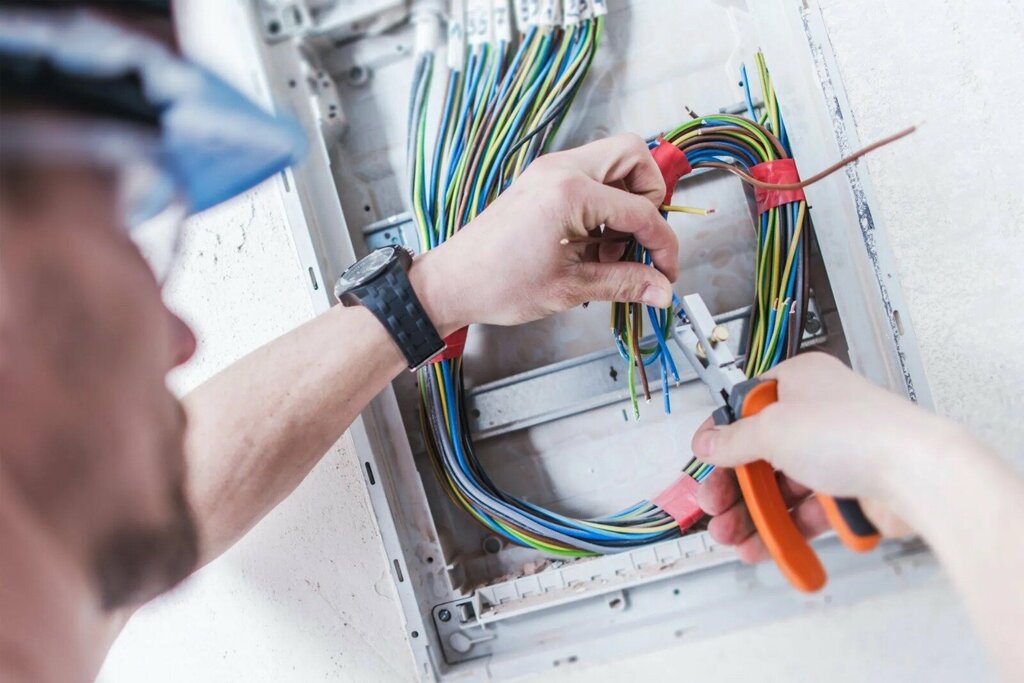
3. Connecting to Main Panel and Circuit Breakers
- Install new circuit breakers in the main panel in accordance with permit guidelines and manufacturer instructions.
- Connect each circuit’s hot, neutral, and ground wires, tightening terminals securely.
- Label each breaker and the panel directory clearly.
- For new panels or major upgrades, hire a licensed electrician to complete and inspect the work.
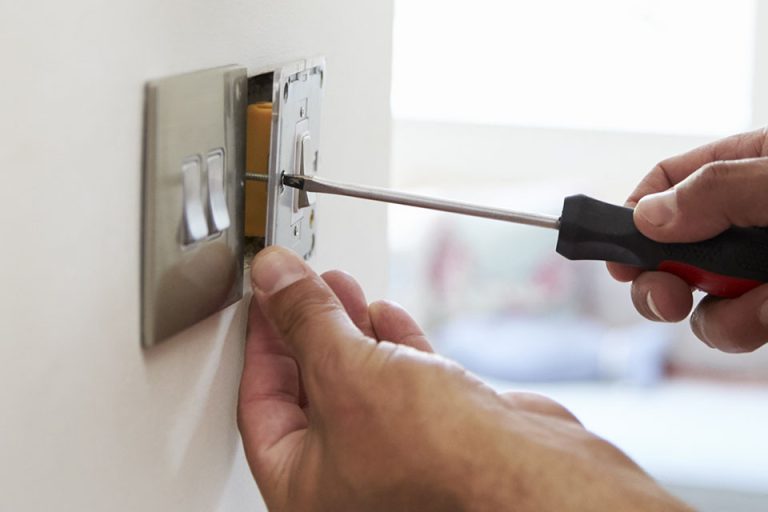
4. Installing Outlets and Switches
- Connect wiring to outlets and switches using correct polarity and wire nuts to join and cap wires inside boxes.
- Install GFCI outlets in kitchens, bathrooms, garages, and outdoor locations; use AFCI breakers or outlets for bedrooms and living areas where arc-fault protection is required by code.
- Use proper box fill calculations to avoid crowding.
- Double-check all connections for tightness and proper routing, then mount devices and cover plates.
5. Grounding and Bonding
- All outlets, switches, and panels must be properly grounded to prevent shock hazards.
- Connect each circuit’s ground wire to the box and device if required.
- Verify the integrity and continuity of your grounding system before energizing circuits.
6. Inspection and Testing
- Schedule an inspection with your local code authority; do not close walls or make devices live until passing.
- Perform a visual check for code compliance, labeling, and safety hazards.
- Use a voltage tester or multimeter to check for correct voltage and polarity on all outlets and switches after energizing circuits.
- Troubleshoot any issues with outlets not working using this guide.
Room-by-Room Considerations
- Kitchens: Require multiple 20-amp circuits, GFCI outlets near all countertops, and dedicated circuits for refrigerators and dishwashers.
- Bathrooms: All outlets must have GFCI protection, and require a dedicated circuit for vanity lights and exhaust fans.
- Bedrooms and Living Rooms: AFCI protection for circuits, and consideration for extra outlets for home office or entertainment setups.
- Garages and Outdoor Areas: GFCI protection required for all outlets; use weatherproof enclosures as needed.
For additional comfort and ambiance in living spaces, you might want to install an electric fireplace; be sure to plan the circuit size, breaker, and wire gauge for such dedicated loads.
Safety Best Practices and Common Mistakes to Avoid
Adhering to safety best practices during electrical installation is crucial to protect your family and ensure long-term reliability of your electrical system.
- Turn Off Power: Always switch off power at the main panel before working on any circuit.
- Respect Permit and Inspection Requirements: Never skip the permit process or required inspections.
- Proper Wire Gauge: Use the correct wire gauge for each circuit to prevent overheating and fire risks.
- Avoid Overcrowding: Overfilled boxes and overloaded circuits can lead to electrical faults and code violations.
- Correct Use of GFCI/AFCI: Install GFCI and AFCI protection as required for wet and living areas.
- Solid Grounding Practices: Improper grounding is a leading cause of electrical shock and fire hazards.
- Don’t Cut Corners: Never use undersized wire, skip junction boxes, or ignore labeling protocols.
- When in Doubt, Call a Pro: Major tasks such as main panel upgrades or troubleshooting persistent faults should be left to a licensed electrician.
For additional electrical safety tips for homeowners, including tips on childproofing and wiring maintenance, visit our comprehensive resource.
Frequently Asked Questions About House Wiring
What is a rough-in in house wiring?
Rough-in wiring refers to the initial phase of electrical installation where wires and cabling are routed and secured, boxes are mounted, and everything is prepped for final connection before walls are closed up. Devices are not yet installed, and inspections must typically be passed before moving on.
Do I need a permit for DIY home wiring?
Yes. Most jurisdictions require permits for electrical work to ensure code compliance and safety. Unpermitted work may be illegal and can void insurance coverage or cause issues when selling your home.
How do I know which wire gauge to use?
Select the wire gauge based on the circuit’s ampacity: 15-amp circuits use 14 gauge, 20-amp circuits use 12 gauge, and higher loads (appliances, HVAC) often require 10 gauge or thicker, according to NEC code. Confirm with manufacturer instructions and local regulations.
Where are GFCIs and AFCIs required?
GFCI outlets must be installed in kitchens, bathrooms, garages, outdoors, and laundry rooms. AFCI breakers or outlets are required for most circuits in bedrooms, living rooms, and hallways for arc-fault protection. Always check the latest code updates.
What should I do if an outlet stops working after wiring?
If an outlet isn’t working, check for tripped breakers or GFCIs first. Then, inspect wire connections and test voltage at the outlet. For a detailed step-by-step troubleshooting roadmap, read this troubleshooting guide.
When is it necessary to hire a licensed electrician?
Hire a licensed electrician whenever you’re uncertain about code, when upgrading or moving the main panel, for major re-wiring, or if you encounter persistent faults or code violations. This ensures legal code compliance and maintains safety standards.